


Smartly Use Flashlight to Create Perfect Lighting
Here's the ultimate guide on iPhone Photography Tutorials, you can keep pace with new articles coming up.
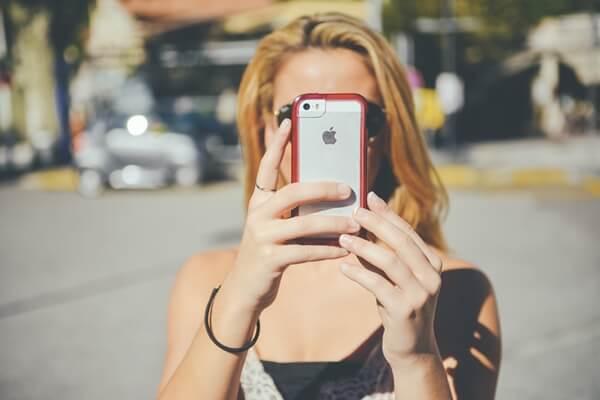
To become an iPhone photography expert, lighting is an obstacle of which you have to overcome and learn to take control. However, being an abstract and immaterial thing, lighting is something more complex to harness as compared to control an iPhone camera.
The previous post: HDR: Must-Know About High Dynamic Range Imaging
The upcoming post: Panorama: Use it to Take Creative Photographs
Lighting bounces off some objects while passing through others, creates large or small shadows and even influences the colors of the image. Lighting is what photographers use to bring out details, create shadows and depth, or sometimes conceal those to make an artistic image with a silhouette. According to the position of the light source, there are three types of lighting.
What Are Three Major Types of Lighting?
- Front lighting. When the light source is placed directly in front of the subject with the light casting onto a person or object in a straightforward way. Front lighting makes shadows fall behind and brings out the detail. In fact, it's the most common lighting that people use in daily, for example, an identification photo. However, front lighting may render an image boring and tedious.

- Slide lighting. As the name implies, the light is casting from the side. That helps to create deeper and longer shadows making the subject vivid and evoke a sense of volume. However, Slide lighting doesn't mean to have to be at a 90-degree angle. A photographer should learn how to adjust the position of the light source in order to create proper shadows and depth.

- Back lighting. This is the hardest technique to master in photography. In most cases for the majority, photographing a picture with backlight ends up with a silhouette, unable to make out the appearance of the subject. Therefore, beginner should try avoiding back lighting scenarios. However, if you know how to take advantage of back lighting, you can come out with dramatic and incredible photos.

When it comes to a completely dark room, the best iPhone tends to be useless without the help of a flashlight. Thanks to a built-in flashlight, iPhone is able to capture unforgettable moments in the dark, for instant, a campfire party. However, without mentioning, I believe you should know how terrible the photos are. Mostly, the directly light from the flashlight makes a person sharply pale and light-reflected. That's why people rather not to use a flashlight when taking a photo at night.
What is Soft Light and Hard Light?
Actually, it's because the flashlight of smart phones deliver a hard light. However, models like iPhone 8/8 Plus and iPhone X roll out with Quad-LED True Tone flash, which is said to be able to deliver a soft light.
A large light source is able to produce soft light, and a small light source relatively deliver strong light, despite having no specific standard to distinguish what counts as large and what small. Meanwhile, the distance between a light source moreover plays a role. As a rule, the closer, the softer.
Hard light tends to create more contrast in an image. Shooting with soft light has less drama, but the smoother shadows prevent details from being lost in the dark areas of the image.

For beginners, I recommend to try making out of side lighting when capturing a subject, for that's more adjustable and able to create more cube and interesting images.