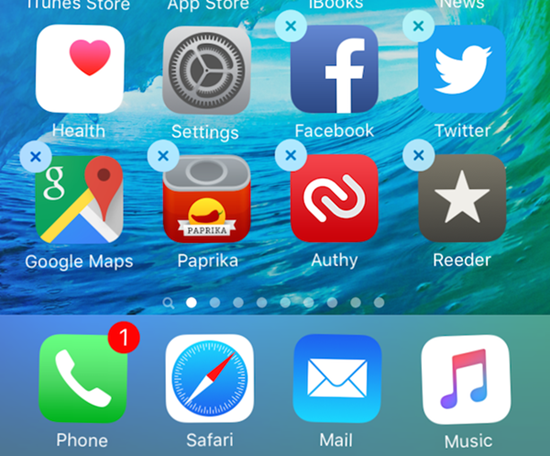


MacBook Pro/Air or iMac Stuck on Login Screen
Recently, some Apple users have reported that they CANNOT log in their MacBooks and the screen is just stuck on the login screen and the loading bar freezes. After entering the password, Mac is stuck on login screen or goes back to the login screen, which usually appears after installing newly released macOS Mojave. Here I provide 8 troubleshooting tips for you to log in your MacBook. You should try each, one at a time, then test to see if the problem is fixed before going on to the next. Be sure to backup your files before proceeding if possible.
Recommendations:
Screen Recorder for Mac: How to Record Screen Videos on Mac
#Tip 1: Create a New User Account in Single User Mode
If you have previously created a spare Admin account for accidents, then it's time to try it. If you haven't, you have to follow the below steps to create a new one since you are locked out.
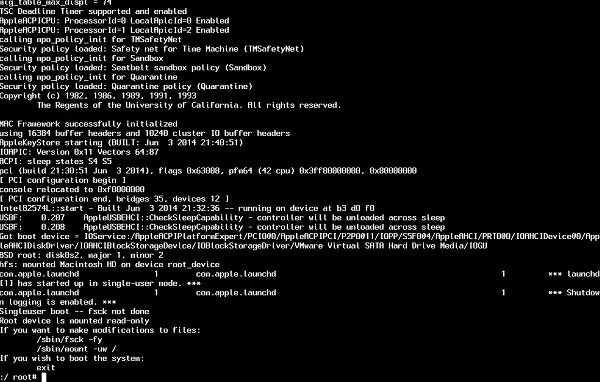
Step 1: Turn off your Mac if it's not. Press and hold [Command]+[S] to enter Single User Mode after tapping the power button.
Step 2: After lines of codes scroll up, a command prompt will appear with a line: :/ root#
Step 3: This step helps you to access your files in your Mac: Type or copy the below line into the prompt and hit [Enter]: /sbin/mount -uw /
Step 4: This step will remove a file so that your Mac will think it's your first time to log in: Type or copy the below line into the prompt and hit [Enter]: rm /var/db/.applesetupdone
Step 5: Type in: Reboot and tap [Enter]. Then you can create a new account just like the first time you start your MacBook.
#Tip 2: Reset your Mac's SMC and PRAM
This tip helps your MacBook Pro/Air to reset its settings and parameters so you may log in under the original settings.
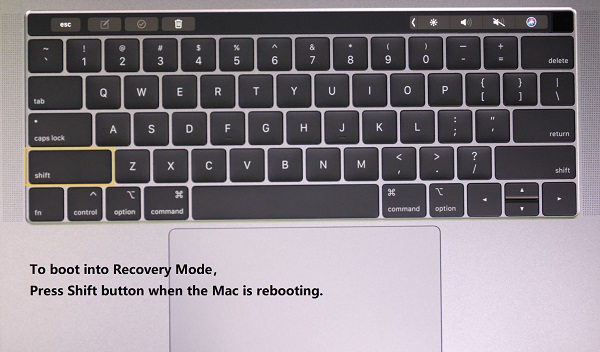
#Tip 3: Press Shift Button When Log in
This method can bypass any login item in your user profile.
- Start your MacBook normally.
- On the Login page, enter your password, but DON'T click on Log in immediately.
- Press and hold the SHIFT key, and then, click on the Login button.
#Tip 4: Boot In Safe Mode
Safe mode is designed to protect MacBook's starting from third-party files and apps. It will automatically check your starting disk and even repair directory issues if needed. Meanwhile, it can block the automatic running of startup items which may affect login process and only load required kernel extensions. Therefore it might help you isolate the cause which makes your MacBook stuck on login page. The method of prompting safe mode is shown below:
- Make sure your MacBook Air is off.
- Press the power button and immediately press & hold [Shift] button until the Apple logo appears on the screen.
- Release the key when you see the login window. You may be asked to log in twice if startup disk is encrypted with FileVault.
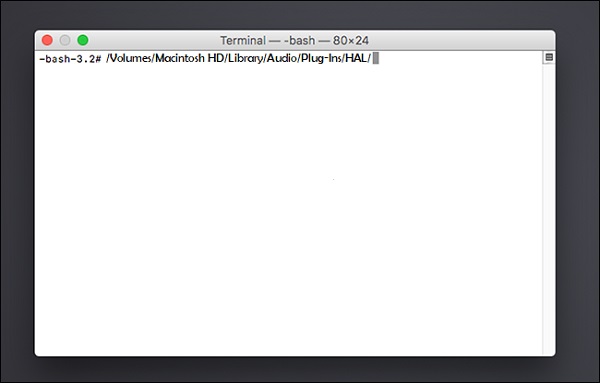
#Tip 5: Delete Razer Plugin
Some users find they can enter into their MacBook Pro/Air successfully after deleting razor plugin. You can try this method too.
- Hold down [Command]+[R] while booting to enter into Recovery mode.
- Start a Utilities>Terminal
- Go to /Volumes/Macintosh HD/Library/Audio/Plug-Ins/HAL/ and remove every Razer Plugin.
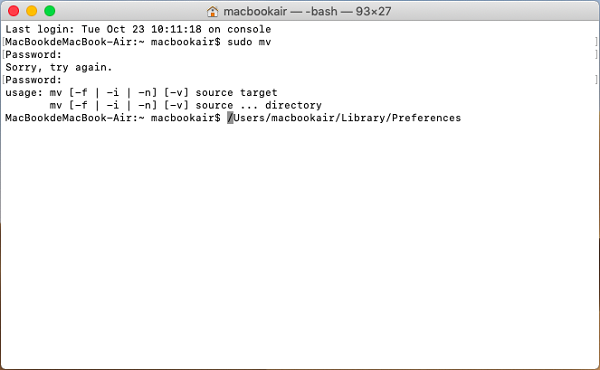
#Tip 6: Rename Plist Files
Boot computer in safe mode(Refer to Tip 4), and log in using the problematic account.
- Open Finder, click Go in menu bar, press option to choose Library.
- Launch Terminal. Type in sudo mv, and drag the Preferences folder from Library folder to terminal window.
- Change the Preference folder to a different name and/or directory, for example: sudo mv /Users/yourname/Library/Preferences /Users/yourname/Documents/Preferences-Old
- Reboot.
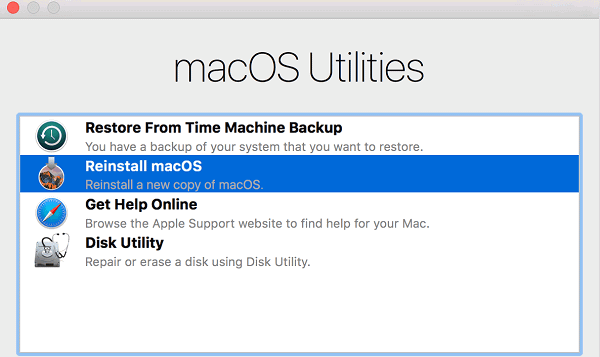
#Tip 7: Reinstall macOS
- Hold down [Command]+[R] while booting
- After seeing Utility Menu, Select Reinstall OS X(X is the version code).
- Click on the [Continue] button.
#Tip 8: Erase and Reinstall macOS
This method adds a step to erase macOS compared to Tip 7.
- Put the Mac into Recovery Mode: Press [Command]+[R] while the Mac is booting.
- Click Disk Utility > [Continue] button.
- Click on the Erase icon, set the Format type to Mac OS Extended(Journaled.). And click Apply.
- Then you can go back to Utility menu and click Reinstall OS X.