


How to Transfer iPhone/iPad Photos to Windows 10
The newly released iPhone 6s and iPhone 6s Plus camera feature a 12-megapixel sensor and 4K video. We cannot help using it to grasp more beautiful pictures and would like to keep a backup of these photos on our computers to prevent them from losing.
On the other side, Windows 10 has drawn lavish praises from many users since its release. Some of the users who owned an iPhone/iPad and have upgraded their computers to Windows 10 ask how they can transfer photos from iPhone to Windows 10. In this post, we're especially looking at how to copy your photos from iPhone or iPad to Windows 10 computer as quick as possible.
Tips: Not only iPhone needs to be backed up to an external drive, more and more computer users choose to backup operating system to external drives, especially with high read & write speed SSD for the latest Windows 10. Learn more how to move Windows 10 to SSD with versatile partition software.
Three methods to transfer iPhone photos to Windows 10
Part 1: Using Windows 10's new function –Phone Companion app
Part 2: Using iPhone Transfer Program
Part 1: Using Windows 10's new function –Phone Companion app
Microsoft adds the Phone Companion app function to its newest OS which can help you copy photos from iPhone to Windows 10 in bulk. It's easy. You may have a try.
STEP 1. Plug your iPhone or iPad into your Windows 10 machine using the regular USB cable. If the Phone Companion app doesn't launch, go to the Start Menu and select it. When it opens you'll see the screen above, with some Microsoft apps and services above some information about your phone.
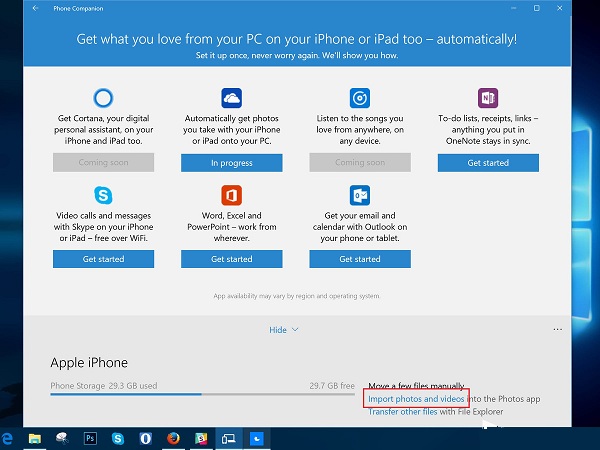
STEP 2. Click "Import Photos and Videos into the Photos app".
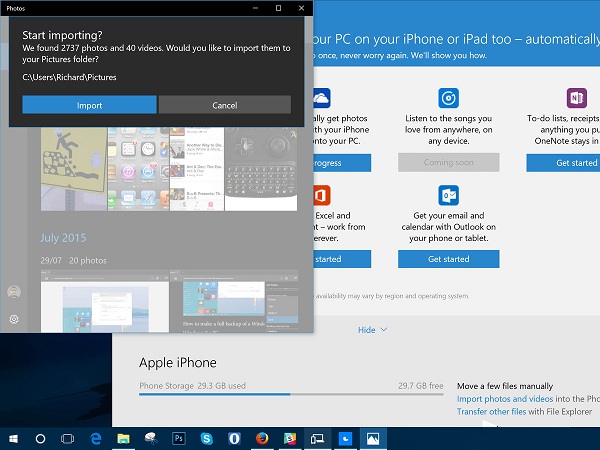
STEP 3. Now, the Photos app for Windows 10 will open and you'll see the message shown here. By default, it'll import all your iPhone or iPad photos and videos to the Pictures file on your computer. So this is a perfect method if you just want to dump everything at once.
Part 2: Using iPhone Transfer Program
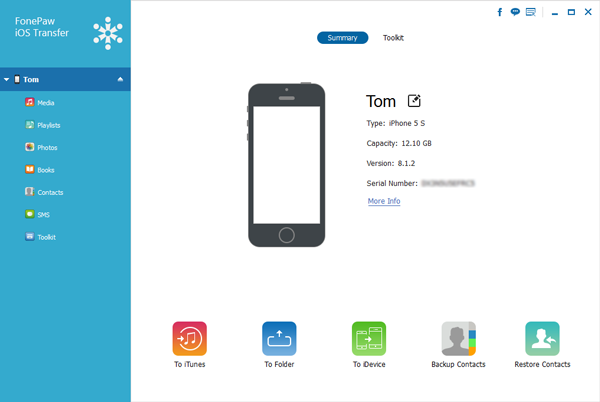
FonePaw iOS Transfer is a powerful iOS devices manager. With it, you can import photos from iPhone to Windows 10 or transfer photos Windows 10 to iPhone. Unlike Photo app on Windows 10, this program not only allows you to copy photos in bulk but also it enables you to migrate iPhone photos to Windows 10 computer selectively. This software is fully compatible with iPhone 6s/6s Plus, iPhone 6/6 Plus, iPhone 5s/5/4s and iPad Pro/Air/mini. Now get started with steps below.
STEP 1. Download this program by clicking the icons below. Then, install and run it on your computer.
Windows Version DownloadMac Version Download
STEP 2. Connect iPhone/iPad to Window 10 computer.
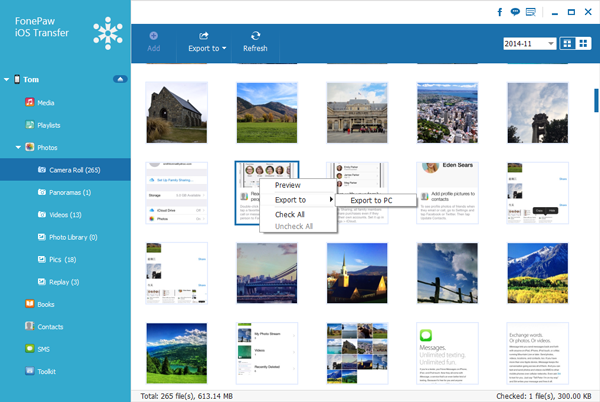
STEP 3. Click "Photos" in the left sidebar. Here, you can see all photo albums on your iPhone, which include Camera Roll, Photo Library, Panoramas, Video and other albums you created. Choose any of them. Preview and tick the photos you want.
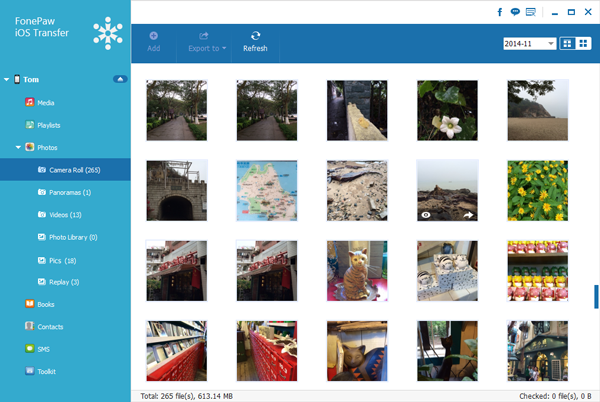
STEP 4. After selection, click "Export to" > "Export to PC" to transfer your iPhone photos to Windows 10 computer.
Part 3: Using File Explorer
STEP 1. Install iTunes, If you haven't already. This will ensure your computer can communicate with your iPhone or iPad.
2. Connect your iPhone to your Windows 10 PC using the USB cable provided by Apple. Check your iPhone screen now and a notification with "Trust" option will appear. Choose "Trust" option to continue.
STEP 3. You can either open File Explorer and find your iPhone listed under "Devices and drives" or by clicking "Transfer other files" in the Phone Companion app.
STEP 4. Under "This PC", you should see your iPhone as a drive. Once you've clicked on your iPhone you'll see the "DCIM" folder that houses all your photos.
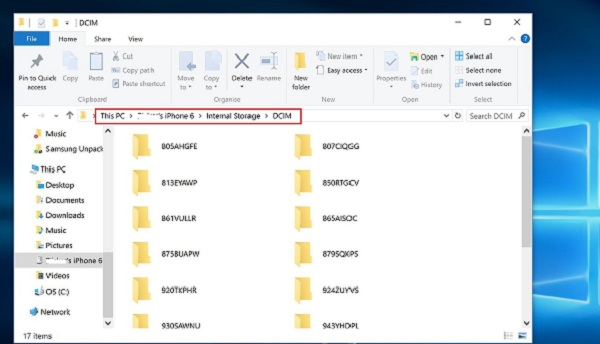
STEP 5. From here it's a simple case of drag and drop to move the files onto your PC.
These are three common methods to transfer photos from iPhone/iPad to Windows 10 PC. If you get easier tips or tricks, please jump into the comments below and share them with everyone!